

With Forms, you can customise what appears on the status page and add custom fields so you can collect all the data you need for that Workflow.
Adding a Form to a Status
- Click on the Forms & Actions tab to configure the status page. This will display a blank box with an Available Actions bar on the right-hand side.
- Drag and drop the Form action from the Available Actions into the blank box.
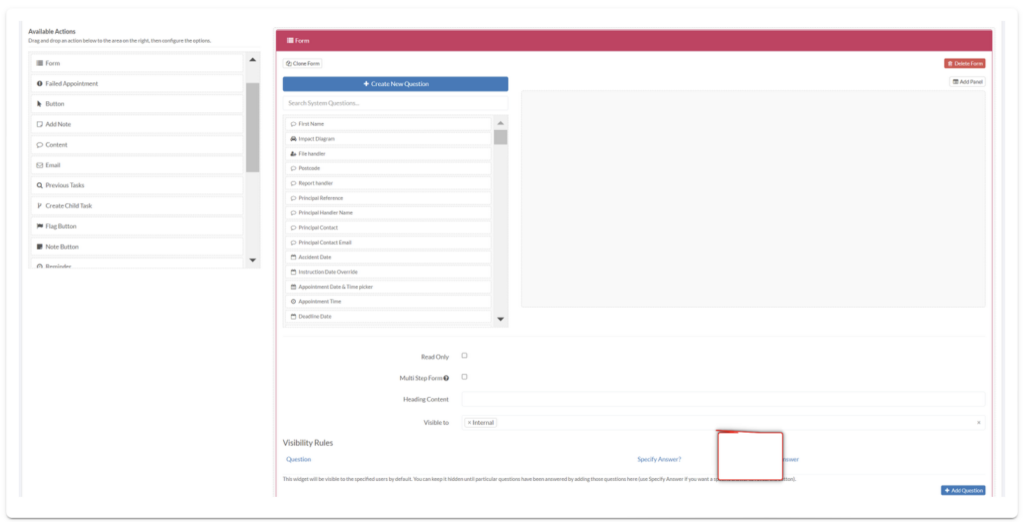
- This will display a Form box in the blank space. To the left of the Form box will be a sidebar with different Questions which you can drag and drop into the blank Form space. Note: You can add more than one Question into the Form.
- Click the Add Panel button in the left-hand corner of the form box if you want to split the form up into different panels.
- To make the form only available to read, check the Read Only checkbox. If the Form has panels, you can make the Form into a Multi Step Form by checking the Multi Step Form checkbox. A multi-step form splits the form up across multiple pages. It is useful if your form is quite long.
- If you want to give the form a Heading, you can add this in the Heading Content.
- Decide who the form is visible to by adding or deleting user types (e.g Internal, Client, etc.) in the Visible to: box.
- Under Visibility Rules you can hide the questions until other question(s) from the forms are answered, by clicking the Add Question button and adding a question. Note: You can add more than one question.
Note:
To discover how to create your own custom questions, view our guide.